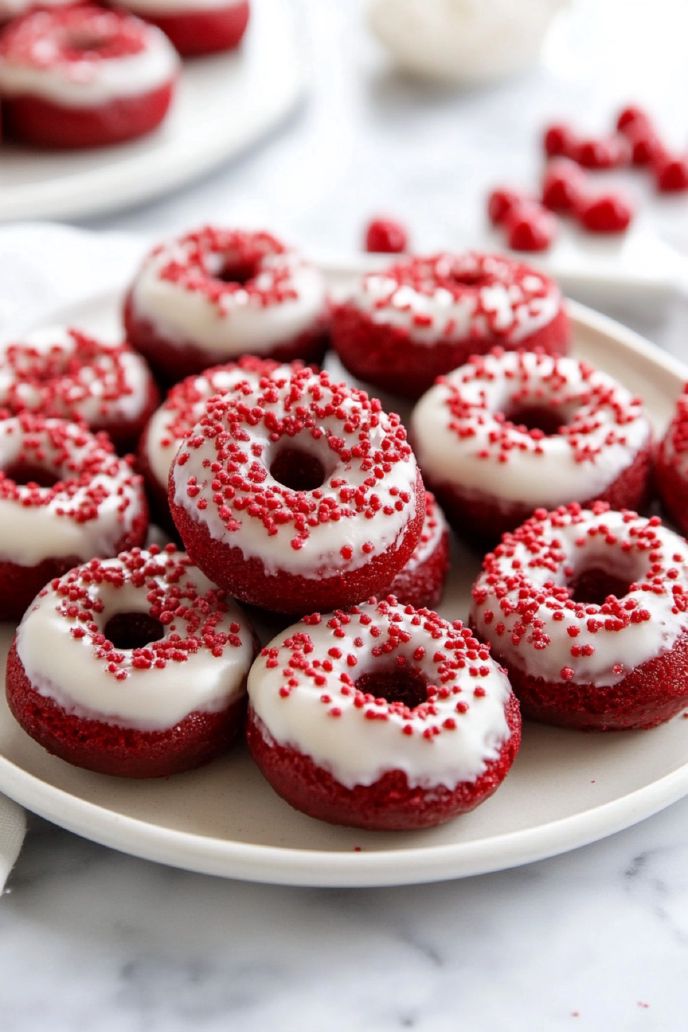
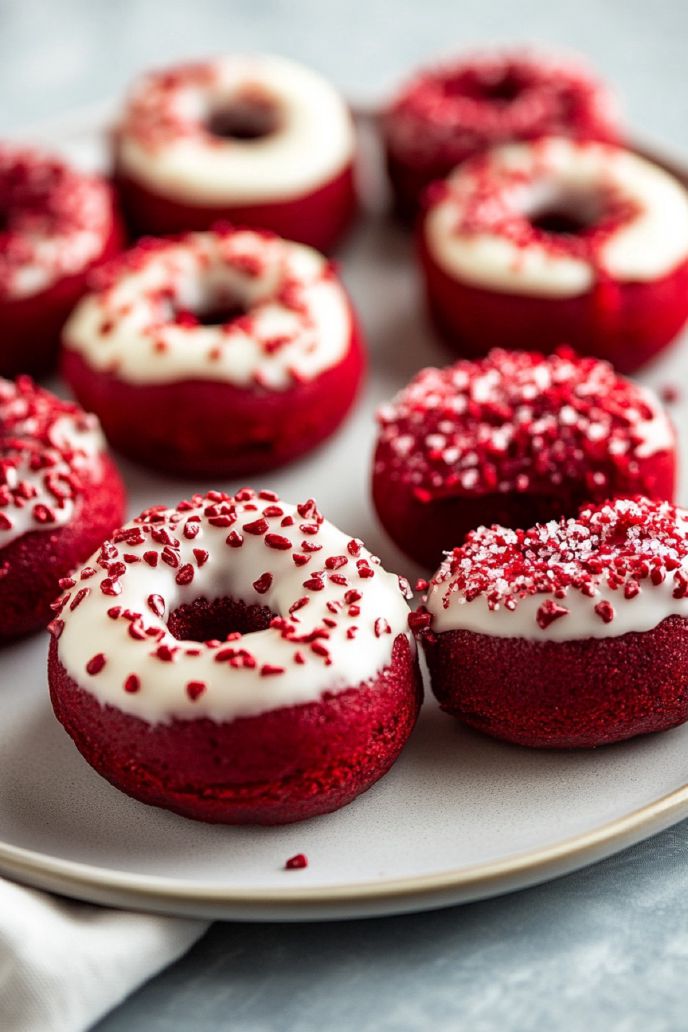
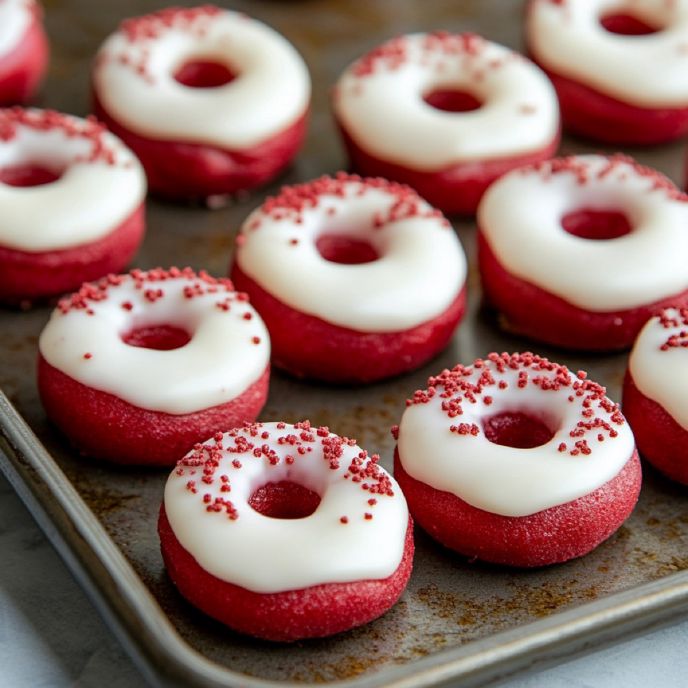
These mini red velvet donuts are soft, rich, and perfectly fluffy, with just the right balance of cocoa and buttermilk.
They’re baked instead of fried, making them a quick and mess-free treat you can whip up in no time. And the best part? That creamy, dreamy cream cheese glaze that takes them over the top!
I’ve been a pastry chef for over a decade, and red velvet has always held a special place in my heart. It’s one of those flavors that feels luxurious yet comforting, fancy but still down-to-earth.
And when you turn it into bite-sized baked donuts? Absolute perfection.
These are the kind of treats that vanish fast, whether you make them for brunch, Valentine’s Day, or just because you’re craving something sweet!

Why You’ll Love These Mini Red Velvet Donuts
There’s something so special about mini red velvet donuts—they’re soft, rich, and have that perfect balance of chocolate and tangy buttermilk.
The texture is incredibly moist, thanks to the brown sugar and buttermilk, and they bake up light and fluffy every time. Plus, the cream cheese glaze adds just the right amount of sweetness to make each bite absolutely irresistible.
Whether you’re making them for a special occasion or just because you’re craving something sweet, these baked donuts will quickly become a favorite.
✔ Soft & Moist: Buttermilk and brown sugar ensure every bite is melt-in-your-mouth soft.
✔ Rich Red Velvet Flavor: A hint of cocoa and a touch of tanginess create that classic red velvet taste.
✔ No Frying Required: These baked donuts are super easy and mess-free—no oil splatters!
✔ Luscious Cream Cheese Glaze: Smooth, creamy, and just the right amount of sweet.
✔ Perfect for Any Occasion: Whether it’s Valentine’s Day, brunch, or a weekday treat, these always impress!
✔ Quick & Easy: Made in under 30 minutes with simple ingredients you probably already have.
Ingredients
Red velvet is all about balance—a little chocolate, a little tang, and just enough sweetness. These simple ingredients come together to create the most moist, flavorful baked donuts with that signature red velvet color.
For the Donuts
- All-Purpose Flour - no need to use cake flour here. The donut will be wonderfully light, thanks to the baking powder
- Cocoa Powder - for that signature red velvet taste
- Brown Sugar - for sweetness
- Salt - to balance the flavors
- Baking Powder - for lift
- Buttermilk - for moisture
- Butter - for richness and to bind the ingredients
- Vanilla Extract - for sweet warmth
- Egg - to help them rise
- Red Food Gel - for the vibrant color
- Espresso Powder - optional, but it brings out the cocoa flavor nicely
For the Cream Cheese Glaze
- Cream Cheese - for a creamy, tangy taste
- Butter - to mellow the tang of the cream cheese
- Vanilla Extract - for sweetness
- Powdered Sugar -so it gets nice and fluffy
- Milk - to control the texture
How to Make Red Velvet Donuts
Baked donuts are incredibly easy to make, and this recipe comes together in under 30 minutes! You don’t need any fancy equipment—just a couple of mixing bowls, a whisk, and a mini donut pan.
If you’ve never made baked donuts before, you’re in for a treat!
Step 1: Prep the Donut Pans: First things first—preheat your oven to 175°C/350°F and lightly grease a mini donut pan with cooking spray or butter. If you don’t have a mini donut pan, a regular one works just as well; they’ll just take a minute or two longer to bake.
Step 2: Make the Batter: In a medium bowl, whisk together the buttermilk, melted butter, egg, and vanilla extract until smooth. This mixture is what keeps the donuts tender and flavorful!
In a separate large bowl, whisk the flour, cocoa powder, brown sugar, salt, baking powder, and espresso powder until well combined. Adding the dry ingredients separately first helps prevent clumps.
Gradually fold the dry ingredients into the wet in three additions, using a spatula. Be gentle—overmixing can lead to dense donuts, and we want them soft and fluffy!
Step 3: Add the Red Food Coloring: Now comes the fun part! Using red food gel, add color little by little with a toothpick, stirring after each addition until you get your desired shade. Gel food coloring works best because it gives a rich color without making the batter too runny.
Step 4: Fill the Donut Pan & Bake: Spoon the batter into a piping bag (or a zip-top bag with the corner snipped off) and carefully pipe it into the donut cavities, filling them about ¾ full.
Bake for 10 minutes, or until the donuts spring back when lightly pressed. Let them cool in the pan for a few minutes before transferring them to a wire rack.
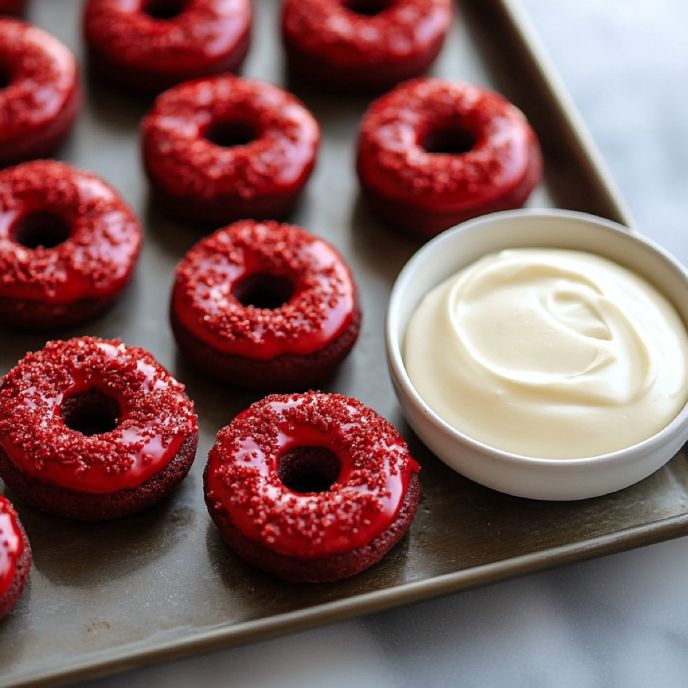
Step 5: Make the Cream Cheese Glaze: While the donuts cool, let’s make that dreamy glaze! In a large bowl, beat the cream cheese with a hand mixer until smooth. Add the vanilla extract and mix again.
Slowly stir in the powdered sugar by hand first (trust me, you don’t want a sugar cloud in your kitchen!). Once incorporated, beat until smooth and creamy. Add the milk a tablespoon at a time until you get a silky, dippable consistency.
Step 6: Dip & Enjoy! Now for the best part—glazing the donuts! Once the donuts are completely cool, dip each one into the glaze, letting the excess drip off before placing them back on the wire rack. Let them set for a few minutes, or if you’re impatient like me, dive in immediately!

Expert Tips for the Best Red Velvet Donuts
Over the years, I’ve made hundreds of batches of donuts, and I’ve learned that even the smallest tweaks can make a huge difference.
While this recipe is easy and beginner-friendly, a few simple tricks will ensure your mini red velvet donuts turn out perfectly soft, moist, and beautifully glazed every time.
From how to avoid dry donuts to making sure your glaze is smooth and shiny, here are my best baking tips:
- Use a piping bag. Filling the donut cavities with a piping bag (or a zip-top bag with the corner snipped off) makes the process much neater and helps you get evenly shaped donuts.
- Don’t overmix the batter. Overmixing can make the donuts dense instead of light and fluffy. Gently fold the ingredients together until just combined.
- Check your baking time! Mini donuts bake fast—start checking them around 10 minutes. If they overbake, they can turn out dry instead of soft.
- Let the donuts cool completely before glazing. If they’re even slightly warm, the glaze will melt off instead of setting into a beautiful coating.
- Sift the powdered sugar for the glaze. This ensures a silky smooth texture without lumps. No one wants a chunky glaze!
- Add a teaspoon of corn syrup to the glaze for extra shine. This is a great trick if you want a glossy finish like bakery-style donuts!
Recipe Variations & Substitutions
Want to switch things up? One of the best things about this recipe is how easy it is to customize!
Whether you’re making adjustments for dietary reasons or just looking to try a fun new flavor twist, here are some great ideas to personalize your mini red velvet donuts:
- No Buttermilk? No problem! You can make a quick substitute by mixing ½ cup of whole milk with 1 teaspoon of vinegar or lemon juice. Let it sit for a few minutes before using.
- Want a More Intense Chocolate Flavor? If you prefer a deeper chocolate taste, add an extra teaspoon of cocoa powder to the dry ingredients.
- Dairy-Free Option: Swap out the butter for melted coconut oil and use a dairy-free alternative for the buttermilk (like almond milk with vinegar). For the glaze, use a dairy-free cream cheese substitute.
- Try a Different Glaze: While cream cheese glaze is the classic pairing for red velvet, you can also try white chocolate drizzle, vanilla glaze, or even a chocolate ganache for a richer finish.
- Add Mix-Ins: Want to get creative? Try folding in some mini chocolate chips to the batter for extra bursts of chocolate in every bite!

How to Get That Perfect Bakery-Style Red Velvet Color
One of the biggest challenges when making red velvet donuts at home is achieving that deep, vibrant red without affecting the flavor or texture.
Too much food coloring can leave a bitter aftertaste, while too little can make your donuts look dull or brownish. Here’s how to get that perfect bakery-style red velvet color every time:
- Use Gel Food Coloring, Not Liquid – Liquid food coloring is less concentrated, so you need way more to achieve the same color. This can thin out the batter and affect the texture. Instead, use a high-quality red gel food color, which is more pigmented and won’t alter the consistency.
- Add Coloring Gradually – Start with a small amount on a toothpick, then mix and assess the color before adding more. Red velvet should be a deep, rich red—not neon!
- Boost the Hue with Cocoa Powder Balance – The right cocoa-to-coloring ratio is key! Too much cocoa powder will dull the red and make the batter appear more brownish. A small amount (like in this recipe) enhances the chocolate undertones without overpowering the red.
- Check Your Brand of Food Coloring – Not all red food gels are created equal! Some brands have a more pinkish or orange tint, which can throw off the final color. Look for a true ‘super red’ or ‘no-taste red’ gel from brands like Americolor, Chefmaster, or Wilton.
- Don’t Overbake! – Overbaked donuts darken in the oven and lose their vibrant red hue. Stick to the 10-minute mark and check for doneness early.
By following these simple tricks, you’ll get that iconic deep red velvet color without compromising flavor or texture. It’s a small detail, but one that makes your homemade donuts look just as stunning as they taste!

Storing & Freezing Mini Donuts
If you’re lucky enough to have leftovers (which is rare in my house!), knowing how to store them properly will keep them fresh and delicious for days.
Because these donuts are soft and moist, they stay fresh longer than traditional fried donuts, but the glaze can soften over time.
Here’s how to store them so they taste just as good the next day:
- Room Temperature: Store your mini red velvet donuts in an airtight container at room temperature for up to 2 days. If they are already glazed, place parchment paper between layers to prevent sticking.
- Refrigerator: If you want to keep them longer, store them in the fridge for up to 5 days. Just keep in mind that refrigeration can make the donuts slightly firmer, so let them sit at room temperature for a few minutes before eating.
- Freezer: These donuts freeze beautifully! If you’re making them ahead, freeze them unglazed in a zip-top freezer bag for up to 3 months. When ready to serve, let them thaw at room temperature, then dip them in fresh glaze.
- Refreshing Stored Donuts: If your donuts have been sitting out for a while and feel a little dry, pop them in the microwave for 5–10 seconds to soften them up again before enjoying!
Mini Red Velvet Donuts
Ingredients:
- For the Donuts
- 120 grams of All-Purpose Flour (1 cup)
- 2 tablespoons of Cocoa Powder
- 155 grams of Brown Sugar (3/4 cup)
- 1/2 teaspoon of Salt
- 1 teaspoon of Baking Powder
- 115 grams of Buttermilk (1/2 cup)
- 40 grams of melted Butter (3 tablespoons)
- 1 teaspoon of Vanilla Extract
- 1 large Egg (room temperature)
- Red food gel
- 1 teaspoon of Espresso Powder
- For the Cream Cheese Glaze:
- 90 grams of Cream Cheese (3 ounces)
- 42 grams soft Butter (3 tablespoons)
- 1 teaspoon of Vanilla Extract
- 225 grams of Powdered Sugar (2 cups)
- 60ml of Milk (4 tablespoons)
Method:
- Preheat the oven to 175°C/350°F and lightly grease the donut pans with cooking spray.
- Add the buttermilk, melted butter, eggs, and vanilla to a medium bowl and whisk until smooth.
- Mix the flour, cocoa powder, brown sugar, salt, baking powder, and espresso powder in a separate bowl with a whisk.
- Mix the dry ingredients into the wet in three additions. Gently fold with a spatula.
- Add the gel food coloring, as needed, with a toothpick until it reaches your desired color.
- Pour the batter into a piping bag and divide it between 12 holes.
- Bake for ten minutes, then put the trays on a wire rack to cool.
- While the donuts cool, make the glaze.
- Put the cream cheese into the bowl of a stand mixer or large bowl and beat until smooth with the paddle attachment or a handheld whisk until smooth.
- Add the vanilla, then mix again.
- Add the powdered sugar and gently mix by hand until it’s mostly incorporated.
- Beat with the paddle or handheld mixer until smooth.
- Add the milk as needed. Coloring is optional.
- Dip the cooled donuts into the glaze and serve.
